Introduction to Olive Garden Breadsticks
The allure of Olive Garden Breadsticks
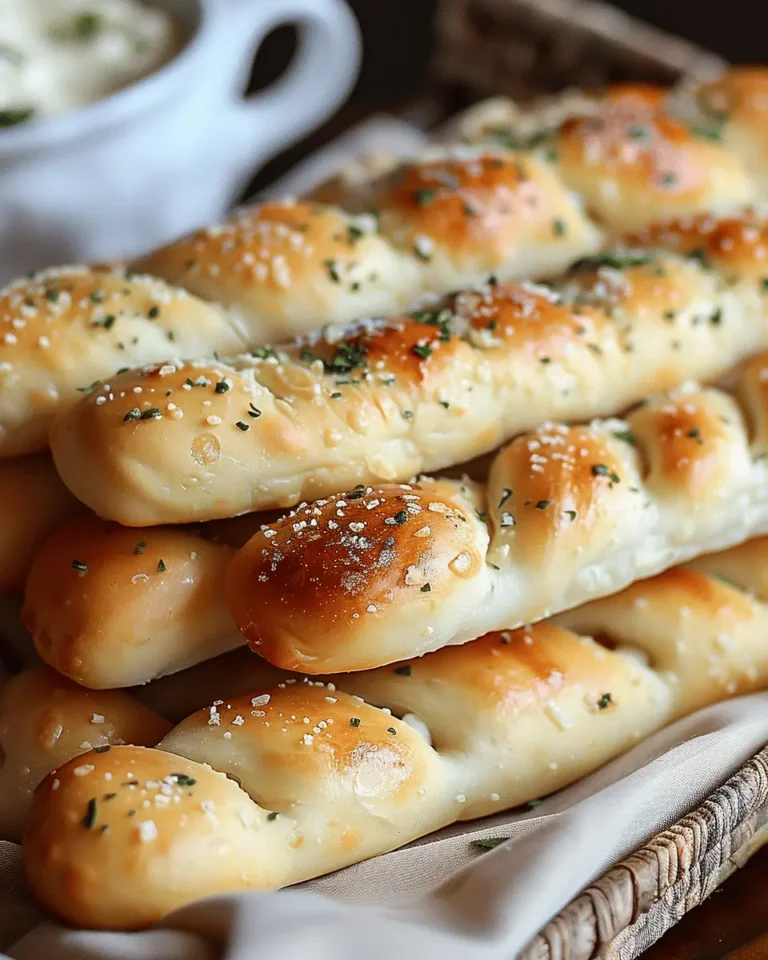
If you’ve ever dined at Olive Garden, you know there’s something irresistibly comforting about Olive Garden Breadsticks. Soft, warm, and sprinkled with a hint of garlic and butter, they’re not just a starter — they’re an experience. Upon entering the restaurant, the aroma wafting through the air greets you like an old friend. These breadsticks become a part of your meal before the first bite of your entrée has even been savored!
What makes these delectable treats so beloved? Perhaps it’s their delightful texture, light yet fluffy on the inside, with just the right amount of chewiness. Or maybe it’s the generous brush of garlic butter that enhances the overall flavor. Whether dipped in marinara sauce or enjoyed on their own, Olive Garden Breadsticks offer a culinary hug that many associate with the coziness of family gatherings.
But it’s not merely about their taste. Numerous studies highlight the psychological effects of certain comfort foods; in fact, research published by the American Psychological Association accentuates the satisfaction derived from consuming comforting meals. With simplicity at their core, these breadsticks embody the essence of easy and enjoyable dining.
A Perfect Companion
What’s great about Olive Garden Breadsticks is their versatility — they pair perfectly with a variety of dishes. Think fresh salads, savory soups, or hearty pastas. As you sit with friends or family, it’s easy to lose track of time while nibbling on these warm delights. Plus, they are a wonderful way to break the ice and spark conversation.
Curious to recreate this experience at home? You’re not alone! Many are turning to DIY recipes to whip up their own batches, ensuring that the joy of Olive Garden Breadsticks doesn’t need to be reserved for an evening out. Stick around as we delve deeper into crafting these delightful breadsticks that can transform any meal into a celebration. To explore more about the history and ingredients that make these breadsticks shine, feel free to check out this Food Network article.
Whether you’re hosting a dinner party or simply treating yourself, these breadsticks are sure to steal the show. Stay tuned as we explore the recipe that promises to bring that Olive Garden magic right into your kitchen!
Ingredients for Olive Garden Breadsticks
Essential ingredients for homemade breadsticks
Creating your own Olive Garden Breadsticks at home is an enjoyable way to impress both yourself and your friends. Here’s what you’ll need for that delightful garlic butter flavor—and that trademark soft, chewy texture:
- All-purpose flour: The backbone of your breadsticks, providing structure.
- Yeast: Instant yeast works best for a quick rise.
- Sugar: A touch of sweetness to balance flavors and help with yeast activation.
- Salt: Essential for flavor and strengthening the dough.
- Butter: This adds richness—melted and brushed on right at the end will make them irresistible.
- Garlic powder: For that unmistakable garlic flavor you crave.
- Parsley: Freshly chopped or dried for garnish.
Possible substitutes for dietary restrictions
If you or your guests have specific dietary needs, don’t worry—there are also alternatives:
- Gluten-free flour: Substitute all-purpose flour with a gluten-free blend, keeping in mind the texture may vary.
- Dairy-free butter: Use plant-based butter for a vegan-friendly option.
- Garlic salt: If you’re short on garlic powder, garlic salt can step in—just reduce the added salt a little.
Once you’ve gathered your ingredients, the fun part begins! This guide to making Olive Garden Breadsticks is sure to be a hit. For more tips on substituting ingredients, check out The Kitchn’s guide to gluten-free baking. Happy baking!
Preparing Olive Garden Breadsticks
Making Olive Garden breadsticks at home is a delightful way to enjoy a taste of your favorite Italian restaurant without having to leave your kitchen. You’ll find this recipe easy to follow, and it’s a fun activity to engage in, whether for a cozy night in or a gathering with friends. Let’s dive right into how to prepare these scrumptious breadsticks!
Gather Your Ingredients
The first step is to gather all the necessary ingredients. Here’s what you’ll need to create your own Olive Garden breadsticks:
- 4 cups all-purpose flour
- 1/4 cup sugar
- 2 teaspoons salt
- 1 tablespoon instant yeast
- 1/2 cup butter, melted
- 1 3/4 cup warm water (about 110°F)
- 1 teaspoon garlic powder (for that extra flavor)
- 1/4 cup grated Parmesan cheese (optional)
Having everything measured and ready to go helps streamline your process. While you’re at it, a fun tip is to choose high-quality ingredients. Using fresh, organic flour can make a noticeable difference in taste and texture.
Make the Dough
Once you have all your ingredients, it’s time to bring them together to create the dough.
- In a large mixing bowl, combine the warm water and sugar, then sprinkle the yeast over the top. Wait about 5-10 minutes until the mixture becomes frothy—this step is crucial to activate the yeast.
- Once you have a bubbly yeast mixture, stir in the melted butter, salt, and garlic powder. Gradually add in the flour, mixing until it forms a soft dough.
Don’t worry if the dough seems a bit sticky; that’s perfectly normal!
Let the Dough Rise
Next, it’s crucial to let the dough rise. This step allows your Olive Garden breadsticks to become fluffy.
- Lightly grease a bowl and place the dough inside. Cover it with a clean kitchen towel or plastic wrap.
- Let it rise in a warm place for about 1 to 1.5 hours or until it has doubled in size.
Pro tip: If your kitchen is a bit chilly, placing the bowl in a slightly warmed oven can expedite this process. Remember, the dough needs that cozy atmosphere to flourish.
Shape the Breadsticks
Now that your dough has risen beautifully, it’s time to shape those breadsticks.
- Punch down the dough to release the air.
- On a floured surface, divide the dough into 12 equal pieces. Roll each piece into a long rope, about 8-10 inches.
- Place the shaped breadsticks on a parchment-lined baking sheet, leaving space between each one for expansion.
Here’s where you can have some fun! If you prefer thicker breadsticks, feel free to adjust the size. But keep in mind, thicker sticks will take a bit longer to bake.
Bake Until Golden
The final step in preparing your Olive Garden breadsticks is baking them to a golden perfection.
- Preheat your oven to 375°F (190°C).
- Bake the breadsticks for 10-12 minutes or until they are golden brown.
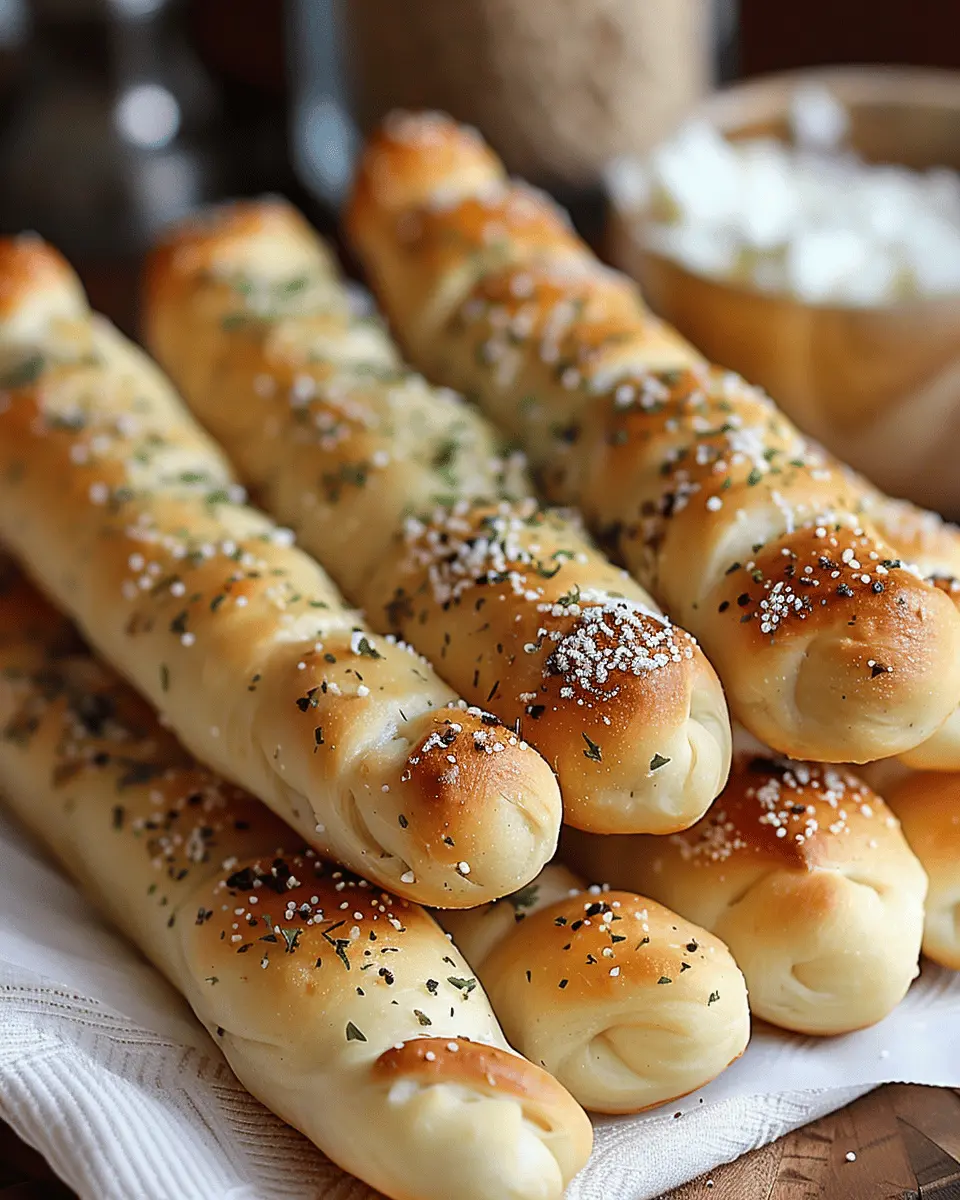
- Optional: Brush the freshly baked sticks with melted butter and sprinkle with grated Parmesan cheese for that authentic Olive Garden finish.
Once they’re out of the oven, resist the temptation to dive in right away. Allow them a few minutes to cool, and then enjoy them fresh and warm. This recipe not only fills your home with a lovely aroma but also makes for a perfect addition to pasta dishes, soups, or salads.
If you’re eager to try more Italian recipes, consider checking out resources like ItalianCooking.com for authentic dishes!
Incorporating Olive Garden breadsticks into your culinary repertoire can bring joy to any meal. Happy baking!

Variations on Olive Garden Breadsticks
When it comes to Olive Garden Breadsticks, the classic recipe is undeniably satisfying. However, experimenting with different variations can elevate your breadstick game and impress your guests. Let’s explore a couple of delicious twists!
Garlic Butter Variations
Garlic butter is a staple flavor that can take your Olive Garden Breadsticks from delightful to extraordinary. Consider adding a hint of smoked paprika or crushed red pepper flakes for a touch of heat. Simply mix these spices into your garlic butter before brushing it on the freshly baked breadsticks. You could also try infusing your butter with fresh herbs like rosemary or thyme for an aromatic boost. If you’re feeling adventurous, why not experiment with roasted garlic? It adds a sweet, caramelized flavor that pairs beautifully with the soft, chewy texture of the breadsticks.
Cheese-Stuffed Breadsticks
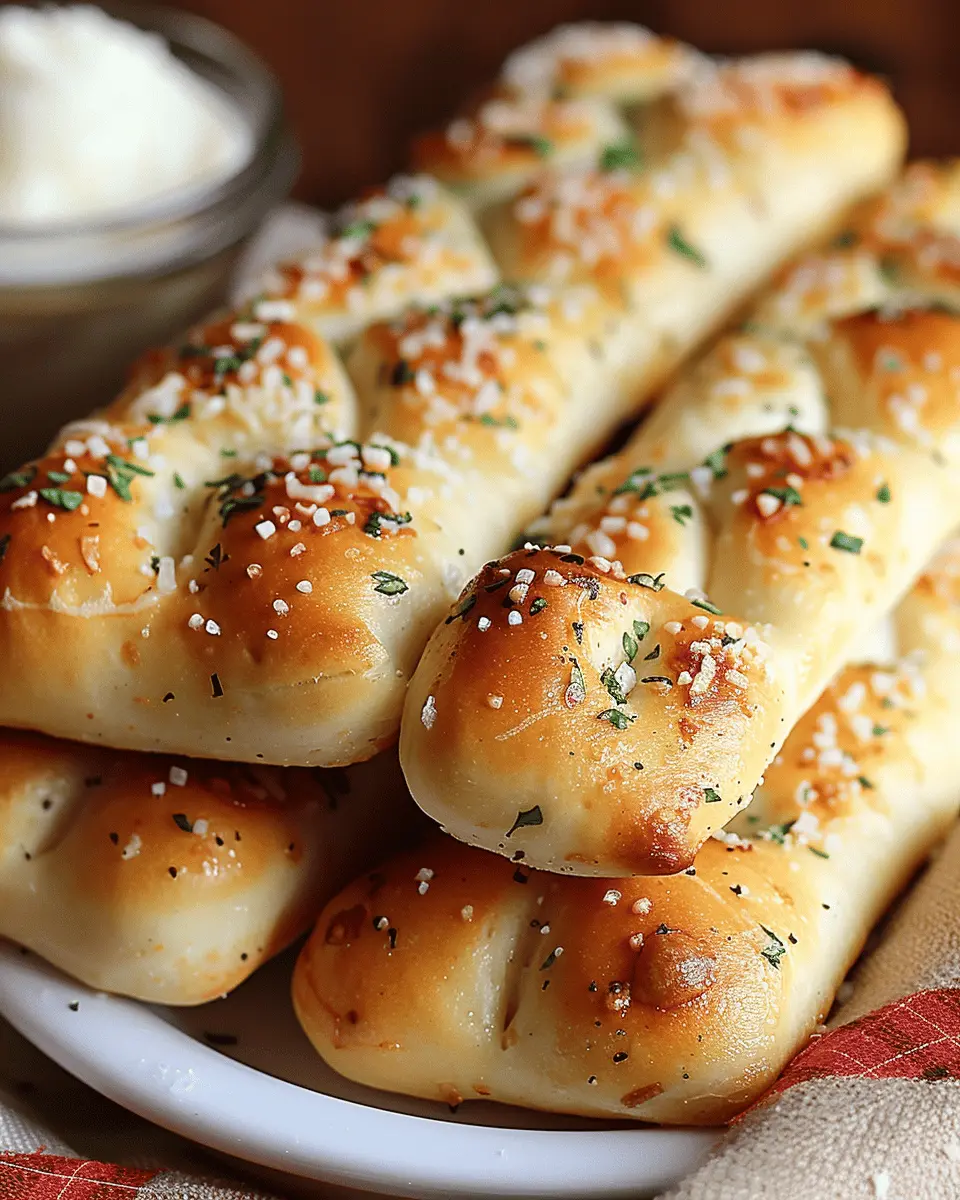
For an indulgent twist on the classic Olive Garden Breadsticks, stuffing them with cheese takes them to another level! Mozzarella is the traditional choice, but don’t shy away from combining it with a zesty cheese like pepper jack for an added kick. To create your cheese-stuffed breadsticks, simply flatten your dough and place a generous portion of cheese in the center before rolling it up. The key is to pinch the seams tightly to prevent any melty goodness from escaping during baking. Consider serving these alongside marinara sauce or a savory herb dip for a fun appetizer that keeps your guests coming back for more.
For more creative ideas and tips on enhancing your breadsticks, you can check out Food Network or Serious Eats. Happy baking!
Cooking Tips and Notes for Olive Garden Breadsticks
Common Mistakes to Avoid
Making Olive Garden Breadsticks is easier than you might think, but a few pitfalls can keep them from reaching their full potential.
- Skipping the Rising Time: Always allow the dough to rise until it doubles in size. This step helps achieve that signature fluffiness.
- Overworking the Dough: Knead just until smooth. Over-kneading can result in tough breadsticks rather than tender ones.
- Ignoring Oven Temperature: Preheat your oven thoroughly. A hot oven ensures a golden crust and soft interior.
For additional tips on dough preparation, check out this great resource from King Arthur Baking.
How to Achieve That Perfect Texture
To get that Olive Garden Breadsticks texture that keeps you coming back for more, consider these points:
- Use Bread Flour: It has a higher protein content which helps yield a chewier texture.
- Steam Your Oven: Place a pan of water in the oven while it preheats. The steam will make your breadsticks softer on the inside.
- Brush with Herb Butter: Once they’re out of the oven, brush them generously with melted butter mixed with garlic and herbs. It enhances flavor and adds a delightful sheen.
With these tips, you’ll be redefining your snacking game. Happy baking!
Serving suggestions for Olive Garden Breadsticks
Pairing Breadsticks with Homemade Soups
Who doesn’t love a warm bowl of homemade soup? When you’re enjoying Olive Garden Breadsticks, consider pairing them with a robust minestrone or a creamy tomato basil soup. These comforting combinations create a delightful harmony of flavors. Just imagine dipping that fluffy breadstick into the rich broth—pure bliss! You might also want to try it with a hearty chicken noodle soup or a zesty vegetable soup. The breadsticks are perfect for soaking up every last drop.
Not sure how to get started? Check out these simple homemade soup recipes, and elevate your breadstick experience!
Serving with Various Dipping Sauces
The beauty of Olive Garden Breadsticks lies in their versatility. Why stick to butter when you can explore a variety of dipping sauces? A garlic herb sauce adds a savory punch, while a tangy marinara or creamy alfredo creates a luscious contrast. If you’re feeling adventurous, try a spicy pesto or a balsamic glaze.
Don’t underestimate the joy of simple olive oil mixed with balsamic vinegar for an easy, flavorful dip. Gather your friends for a fun appetizer night, where everyone can bring their favorite sauce to share. It’s a simple yet engaging way to enjoy your breadsticks and customize them to your taste! 🥖
Time breakdown for Olive Garden Breadsticks
When you’re craving those delightfully soft and buttery Olive Garden Breadsticks, knowing your time breakdown can make the process smoother and more enjoyable. Here’s how long you can expect each step to take:
Preparation time
Get everything ready with a quick 10-15 minutes of preparation. This includes measuring your ingredients and mixing the dough for those perfect breadsticks.
Rising time
Allow the dough to rise for about 1 hour. This step is crucial as it helps achieve that airy texture we all love. During this time, you can relax or tidy up the kitchen.
Baking time
Once your dough has risen, it’s time to bake! This will take approximately 15-20 minutes. Make sure to watch for that lovely golden brown color that indicates they’re ready to come out.
Total time
In total, you’re looking at around 1 hour 25 minutes from start to finish. It’s a minimal investment for such a rewarding outcome!
With the right timing, you can whip up a batch of irresistible Olive Garden Breadsticks that will impress your friends or family. Plus, be sure to serve them warm with your favorite dipping sauces! Interested in more tips on bread preparation? Check out King Arthur Baking Company’s website for wonderful resources.
Nutritional facts for Olive Garden Breadsticks
When you’re craving those delicious Olive Garden Breadsticks, it’s always good to understand what you’re indulging in. Let’s break down the nutritional facts so you can enjoy them guilt-free!
Calories
A serving of Olive Garden Breadsticks contains approximately 140 calories. This makes them an enticing choice for a side, but moderation is key! The warm, fluffy texture is such a delight, isn’t it?
Carbohydrates
You’ll find around 26 grams of carbohydrates in each breadstick. While carbs are essential for energy, it’s wise to balance them with your overall meal, especially if you’re keeping an eye on your diet.
Protein
These beloved breadsticks offer about 4 grams of protein each. While they’re not a heavy source of protein, they complement other dishes perfectly. If you’re orchestrating a meal, team them with protein-rich options like grilled chicken for a satisfying experience!
For those looking to dive deeper into nutritional information, check out NutritionData or consult resources like the USDA FoodData Central to tailor your meals according to your dietary needs. Enjoy your Olive Garden Breadsticks, and remember: they’re even better when shared!
FAQs about Olive Garden Breadsticks
Can I freeze leftover breadsticks?
Absolutely! Freezing your leftover Olive Garden Breadsticks is a convenient option to enjoy them later. Here’s how:
- Allow the breadsticks to cool completely.
- Wrap each breadstick in plastic wrap or aluminum foil to prevent freezer burn.
- Place them in an airtight container or freezer bag for extra protection.
When you’re ready to indulge again, simply thaw them in the refrigerator overnight and reheat. For step-by-step guidance on freezing breadsticks, check out this helpful article from The Kitchn.
Making Olive Garden Breadsticks Vegan-Friendly
Want to enjoy Olive Garden Breadsticks while sticking to a vegan diet? No problem! You can easily modify the recipe. Here’s how:
- Butter Substitute: Use vegan butter, olive oil, or a blend of both in place of regular butter during preparation and brushing.
- Milk Replacement: Swap out regular milk for almond, soy, or oat milk.
These simple changes let you enjoy that signature taste without any animal products.
Reheating Breadsticks for Maximum Enjoyment
Reheating Olive Garden Breadsticks properly ensures they retain their fluffy texture and delightful flavor. Here are three effective methods:
- Oven: Preheat to 350°F (175°C), wrap the breadsticks in foil, and heat for about 10 minutes.
- Microwave: For a quick fix, place them on a microwave-safe plate with a damp paper towel on top. Heat in 15-20 second intervals to avoid drying them out.
- Air Fryer: Preheat your air fryer to 300°F (150°C) and reheat for about 3–5 minutes for a crispy finish.
Using efficient reheating methods can make your leftover Olive Garden Breadsticks feel fresh out of the oven!
Conclusion on Olive Garden Breadsticks
Recap of the Joy of Homemade Breadsticks
There’s something truly magical about making your own Olive Garden Breadsticks at home. They transform a simple meal into a delightful experience, enveloping your kitchen with a cozy aroma. Whether it’s a casual weeknight dinner or a special gathering, these breadsticks bring people together.
Remember, the key to achieving that perfect texture lies in the kneading and rising process. As you craft each batch, take a moment to savor the journey of creating something delicious. It’s not just about the taste; it’s about sharing warm moments with loved ones. For additional tips and variations, check out this resource from Serious Eats. Enjoy the process—your homemade breadsticks are sure to steal the show!
PrintOlive Garden Breadsticks: Easy Recipe for Soft and Fluffy Perfection

Learn how to make the famous Olive Garden breadsticks at home with this easy recipe that guarantees soft and fluffy perfection.
- Prep Time: 15 minutes
- Cook Time: 15 minutes
- Total Time: 2 hours 30 minutes
- Yield: 12 breadsticks 1x
- Category: Appetizer
- Method: Baking
- Cuisine: Italian
- Diet: Vegetarian
Ingredients
- 3 1/4 cups all-purpose flour
- 1 tablespoon sugar
- 1 teaspoon salt
- 2 1/4 teaspoons active dry yeast
- 1 cup warm water
- 3 tablespoons butter, melted
- 1/2 teaspoon garlic powder
- 1/4 cup grated Parmesan cheese
Instructions
- In a bowl, combine warm water and yeast, letting it sit until foamy.
- In a large mixing bowl, combine flour, sugar, and salt.
- Add the yeast mixture and melted butter to the dry ingredients, mixing until a dough forms.
- Knead the dough on a floured surface until smooth, about 5-7 minutes.
- Place the dough in a greased bowl, cover, and let rise until doubled, about 1-2 hours.
- Punch down the dough and divide it into equal pieces, rolling each into a stick shape.
- Place the breadsticks on a greased baking sheet and let rise again for 30 minutes.
- Bake in a preheated oven at 375°F for 12-15 minutes or until golden brown.
- Brush with melted butter and sprinkle with garlic powder and Parmesan cheese before serving.
Notes
- For extra flavor, you can mix minced garlic into the melted butter.
- These breadsticks pair well with marinara sauce for dipping.
Nutrition
- Serving Size: 1 breadstick
- Calories: 150
- Sugar: 1g
- Sodium: 200mg
- Fat: 7g
- Saturated Fat: 3g
- Unsaturated Fat: 4g
- Trans Fat: 0g
- Carbohydrates: 20g
- Fiber: 1g
- Protein: 4g
- Cholesterol: 10mg
Keywords: Olive Garden Breadsticks, breadstick recipe, soft breadsticks